
Install Guide
Bilstein 5100 Install Guide for Toyota Tundra
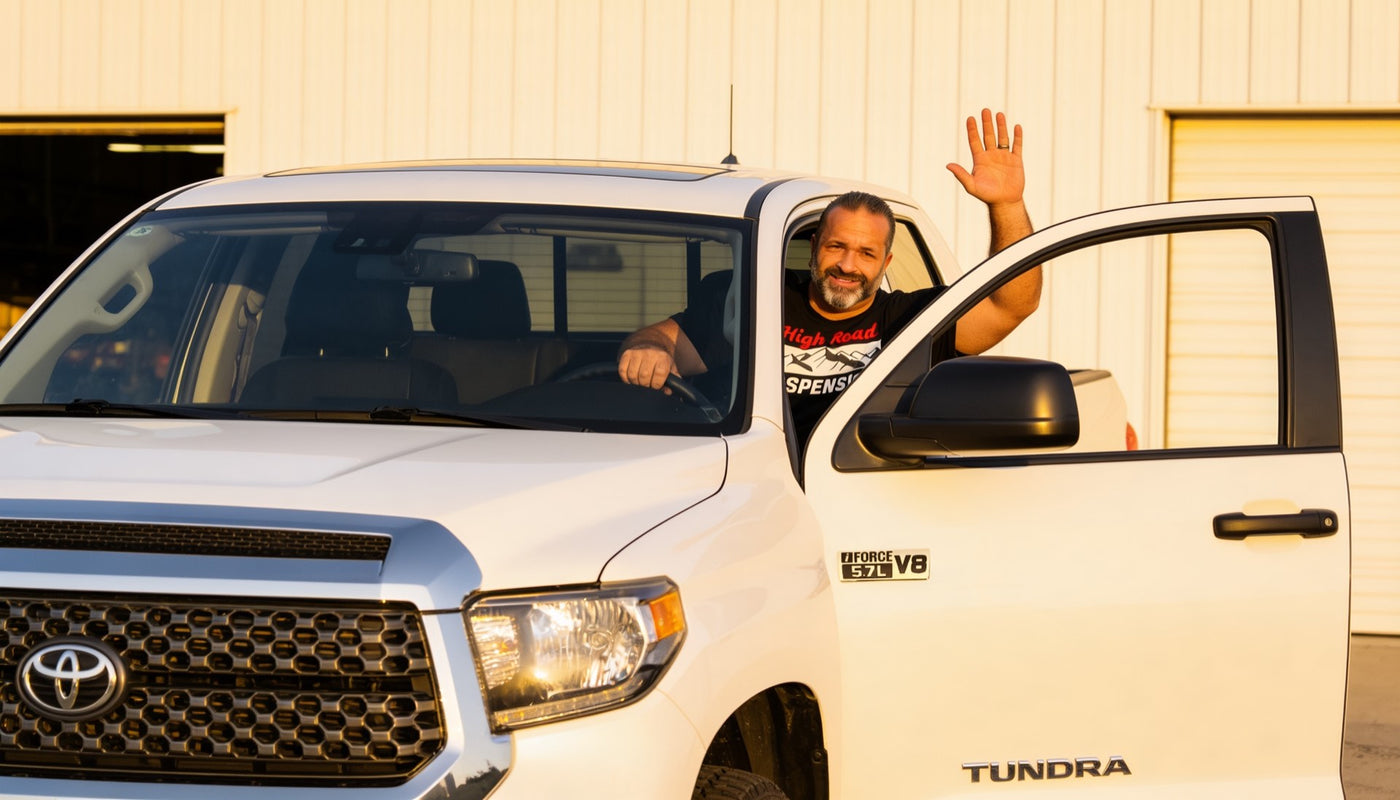
Installing Bilstein 5100 front struts on a Toyota Tundra is a straightforward project that can be completed in the driveway with basic hand tools and a rented spring compressor. Because the Bilstein 5100s are supplied as bare struts, the factory coil springs and upper mounts must be transferred to the new struts before installation.
If you are still deciding between the Bilstein 5100 and a coilover setup, our Bilstein 5100 vs Fox 2.0 comparison breaks down the differences before you buy.
Proper assembly is critical. Take your time during the assembly process and carefully follow the instructions below. In particular, pay close attention to the orientation and placement of the washers, spring seat, snap ring, and upper mount components. Incorrect assembly can result in suspension damage or failure.
Important: This guide is intended as a general installation reference. Always follow the vehicle and Bilstein manufacturer torque specifications and safety procedures for your specific application.

Removing the Factory Front Strut Assembly
- Park the truck on a level surface, set the parking brake, and chock the rear wheels. Raise the front of the truck using the factory-designated jacking points and support it securely with jack stands. The front tires should be at least 1 inch off the ground, with the suspension at full droop.
- Remove the front wheels.
- Disconnect the sway bar endlinks from the lower control arms.
- Using a 10mm wrench, remove the ABS sensor wire bracket from the upper control arm. Take care not to overextend or damage the wire. Retain the hardware for reuse.
- Position a floor jack underneath the lower control arm on the side you are working on. Raise the jack just enough to relieve tension from the upper control arm without lifting the truck. Do not place the jack against the brake dust shield.
- Using a 19mm socket, loosen the upper control arm ball joint nut. Leave the nut threaded onto the stud until it is flush with the end of the stud.
- Remove the upper strut mounting nuts using a 14mm wrench. Retain the nuts for reuse.
- Using a 12mm wrench, remove the brake line bracket from the spindle. Retain the mounting hardware for reuse.
- Slowly lower the floor jack and allow the suspension to hang freely.
- Strike the side of the steering knuckle near the ball joint with a hammer until the tapered ball joint stud releases. Do not use a pickle fork, as it can damage the ball joint boot.
- Reposition the floor jack underneath the lower control arm and raise it just enough to relieve tension from the ball joint. Remove the upper ball joint nut.
- Using a 22mm socket and wrench, remove the long lower strut bolt. Retain the bolt and nut for reuse.
- Lower or remove the floor jack to allow the suspension to open fully. Be careful not to overextend the CV axle.
- Remove the factory strut from the vehicle.
- Remove the four bump stops. This step is not required if using the lowest ride-height setting.
- Install the supplied bump-stop spacer washers onto the bump-stop studs, then reinstall the bump stops.
Bilstein 5100 Assembly
Before assembling the Bilstein 5100, determine your desired front ride height. The lift height is determined by the position of the supplied snap ring (circlip) on the strut body.

2007-2021 Toyota Tundra (Bilstein 24-232173)
The 2007-2021 Bilstein 5100 struts for the Tundra are available here.
- Bottom perch: 0.87" lift
- Middle perch: 1.57" lift
- Top perch: 2.3" lift, recommended position for bringing the front of the truck closest to level with the rear
2022+ Toyota Tundra (Bilstein 24-329200)
The 2022 and newer Bilstein 5100 struts for the Tundra are available here.
Tundra 4WD
- Top perch: Do not use
- 5th perch: 2.3" lift
- 4th perch: 1.8" lift
- 3rd perch: 1.3" lift, recommended position for bringing the front closest to level with the rear
- 2nd perch: 0.7" lift
- Bottom perch: Stock height
Tundra TRD Sport 4x4
- Top perch: 2.2" lift
- 5th perch: 1.8" lift
- 4th perch: 1.4" lift, recommended position for bringing the front closest to level with the rear
- 3rd perch: 1.0" lift
- 2nd perch: 0.6" lift
- Bottom perch: Stock height
Tundra 2WD
- Top perch: 2.4" lift
- 5th perch: 2.0" lift
- 4th perch: 1.5" lift, recommended position for bringing the front closest to level with the rear
- 3rd perch: 1.1" lift
- 2nd perch: 0.6" lift
- Bottom perch: Stock height
Use needle-nose pliers to move the snap ring into the desired groove.
Transferring the Factory Spring and Upper Mount

- Rent a MacPherson-style spring compressor from your local auto parts store. Most stores offer them with a refundable deposit.
- Secure the factory strut upright in a bench vise.
- Install the spring compressors on opposite sides of the spring and tighten them evenly until all tension is removed from the upper mount.
- Hold the shock shaft with an open-end wrench while loosening the upper nut with a box-end wrench.
- Carefully remove the upper mount. Pay close attention to the order and orientation of the upper bushing, washer, and spring seat. Slide the coil spring off the factory strut.
- Set the factory coil spring and upper mount components aside for reuse.
- Remove the factory strut from the vise and secure the Bilstein 5100 in the vise in the same upright position.
- Remove the factory dust boot from the original strut and install it on the Bilstein 5100. Use the supplied zip tie to secure the dust boot to the strut body.
- Verify that the snap ring is fully seated in the selected groove. You should be able to rotate the snap ring by hand while it remains fully seated in the groove. Install the spring seat in the correct orientation. The snap ring must be completely seated in the groove inside the spring seat.
- Reinstall the factory coil spring and all original upper mount components in their original positions.
- Install the supplied new locknut and torque it to 45 Nm (34 lb-ft). Do not reuse the original locknut. Use a 6mm Allen key to keep the piston rod from rotating while tightening the locknut.
Carefully remove the spring compressors, alternating between each side to gradually release spring tension.
Your Bilstein 5100 strut assembly is now complete and ready to install.
Installing the Bilstein 5100 Assembly
- Position the completed Bilstein 5100 assembly in the vehicle and install the supplied 10mm flange lock nuts on the upper mounts.
- Reconnect the lower strut mount to the lower control arm using the factory bolt and nut. Torque to the factory specification using a 22mm socket and wrench.
- Raise the lower control arm with a floor jack to align the upper ball joint with the steering knuckle.
- Torque the upper strut mounting bolts to 42 lb-ft using a 17mm socket.
- Install the upper control arm ball joint into the steering knuckle. Reinstall the factory hardware and tighten using a 19mm wrench.
- Reinstall the factory brake line bracket onto the spindle using the original hardware. Torque to the factory specification using a 12mm socket.
- Reinstall the ABS sensor wire bracket onto the upper control arm using the factory hardware. Torque to the factory specification using a 10mm socket.
- Carefully verify that the brake line and ABS wiring are properly routed and are not stretched, pinched, or contacting any moving suspension components.
- Remove the floor jack from underneath the lower control arm.
- Reinstall the sway bar endlinks onto the lower control arms using the factory hardware. Torque to the factory specification using a 19mm socket.
- Reinstall the wheels and tires, then lower the vehicle to the ground.
- Have the truck professionally aligned to factory specifications.
Installation Complete
Once the Bilstein 5100s are installed, take the truck for a careful test drive and listen for any unusual noises or movement from the suspension.
After approximately 100 miles (160 km) of driving, re-torque all accessible suspension hardware to ensure everything remains properly secured.
We also strongly recommend having the truck professionally aligned after installing Bilstein 5100 struts, particularly if you have changed the front ride height. Changing ride height can affect suspension geometry and alignment angles, making a professional alignment an important final step.
Frequently Asked Questions
Do I need a spring compressor to install Bilstein 5100 struts?
Yes. Bilstein 5100s are supplied as bare struts, so the factory coil springs and upper mounts must be transferred to the new struts. A MacPherson-style spring compressor is required to safely remove and reinstall the coil springs. Most local auto parts stores offer spring compressors through their tool-loan programs with a refundable deposit.
How much lift can I get from Bilstein 5100 struts on a Tundra?
The amount of lift is determined by the snap-ring position selected during assembly. Depending on the Tundra model and Bilstein 5100 application, the available settings range from stock height to approximately 2.4 inches of front lift.
Do I need an alignment after installing Bilstein 5100 struts?
Yes, an alignment is recommended. This is especially important if you have changed the front ride height. Raising or lowering the suspension changes the truck's suspension geometry and can affect camber, caster, and toe. A professional alignment helps protect your tires and ensures the truck tracks properly.
When should I re-torque the suspension hardware?
After approximately 100 miles (160 km) of driving, re-torque the suspension hardware to ensure everything remains properly secured. This is particularly important after the initial installation, as the suspension components may settle during the first few miles of driving.
More Install Guides

Best Struts, Coilovers, and Rear Shocks for a Nissan Titan XD
From budget Bilstein struts to premium King coilovers, here's how the suspension options for the Nissan Titan XD compare, and which one f...
Read the guide ›
How to Protect Your Coilovers and Shocks: Limit Straps, Bump Stops, and Covers
Your coilovers and shocks work hard and cost real money. Here's how limit straps, bump stops, and covers protect them through the full ra...
Read the guide ›
What Are Bump Stops and When Do You Need Them?
Bump stops are the last line of defense against a bottomed-out suspension. Here's what they do, the different types, and which one fits h...
Read the guide ›