
Install Guide
Bilstein 5100 Install Guide for 2004-2024 Nissan Titan
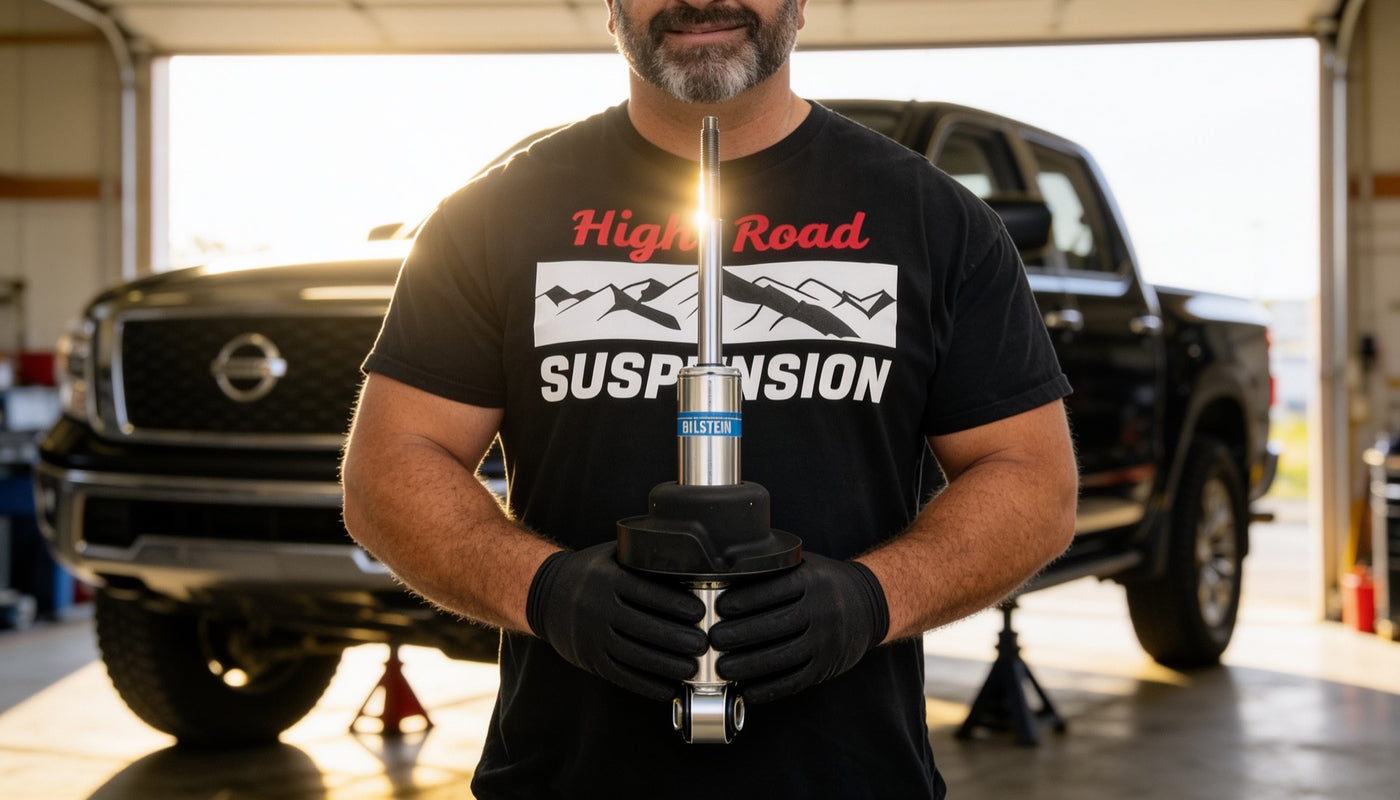
Installing Bilstein 5100 front struts on your Nissan Titan is a straightforward project that can be completed in your driveway with basic hand tools and a rented spring compressor. Since the Bilstein 5100s require assembly before installation, proper assembly is critical. One incorrectly installed washer can lead to suspension failure, so pay close attention to the assembly section of this guide.


Removing the Factory Front Strut Assembly
- Park the truck on a level surface, set the parking brake, and chock the rear wheels. Raise the front of the truck using a floor jack at the factory-designated jacking points and support it securely with jack stands. The front tires should be at least 1 inch off the ground with the suspension at full droop.
- Remove the front wheels.
- Using needle-nose pliers (and a cotter pin removal tool if available), remove the cotter pins from the tie rod end and the upper control arm ball joint.
- Loosen the tie rod end nut until it is flush with the end of the stud. Strike the nut and stud downward with a hammer to release the tapered joint, then remove the nut completely.
- Remove the sway bar end link nuts from both lower control arms. Disconnect both end links and swing the sway bar forward and away from the suspension.
- Position a floor jack under the lower control arm on the side you are working on. Raise it just enough to remove tension from the upper control arm without lifting the truck. Avoid placing the jack on the brake dust shield.
- Remove the three upper strut mounting nuts. Save them for reinstallation.
- Remove the cotter pin from the upper control arm ball joint.
- Using a deep socket, loosen the upper ball joint nut until it is flush with the end of the stud.
- Lower the floor jack and allow the suspension to hang freely.
- Strike the side of the steering knuckle near the ball joint with a hammer until the tapered stud releases. Avoid using a pickle fork, as it can damage the ball joint boot.
- Reposition the floor jack under the lower control arm just enough to relieve tension from the ball joint. Remove the upper ball joint nut.
- Lower or remove the jack to allow the suspension to open fully. Be careful not to overextend the CV axle.
- Remove the lower strut bolt using a 19 mm wrench on the bolt head and a 21 mm deep socket on the nut. An extension helps reach around the front axle. Retain the hardware.
- Remove the factory strut assembly from the vehicle.
Bilstein 5100 Assembly

- Before assembly, select your desired ride height by positioning the supplied snap ring in the appropriate groove.
2004-2015 Titan (Bilstein 24-197649):
- Stock height
- 1-inch lift
- 2-inch lift
2016-2024 Titan (Bilstein 24-268189):
- Stock height
- 0.7-inch lift
- 1.2-inch lift
- 1.7-inch lift
- 2.2-inch lift
Use needle-nose pliers to move the snap ring into the desired groove.
- Rent a MacPherson-style spring compressor from your local auto parts store. Most stores loan them with a refundable deposit.
- Secure the factory strut upright in a bench vise.
- Install the spring compressors opposite each other and tighten them evenly until all tension is removed from the top mount.
- Hold the shock shaft with an open-end wrench while loosening the top nut with a box-end wrench.
- Pay attention to the order and orientation of the upper bushing, washer, and spring seat. Remove the top mount and slide the spring off the factory strut.
- Remove the factory strut from the vise and secure the Bilstein 5100 in the same position.
- Install the large Bilstein-supplied washer with the cupped side facing downward toward the lower eyelet. This is the most common assembly mistake. If installed upside down, the shock shaft can pull through the upper mount after installation.
- Install the factory metal sleeve onto the shaft.
- Install the factory lower rubber bushing so the metal sleeve fits inside it.
- Slide the compressed spring onto the Bilstein strut. Make sure the end of the coil seats in the notch of the lower spring perch. Reuse the factory plastic spring isolators.
- Install the upper spring isolator and factory top mount.
- Install the factory upper rubber bushing.
- Install the factory upper washer with the cupped side facing upward.
- Install and tighten the supplied Bilstein top nut.
- Carefully remove the spring compressors.
Your Bilstein 5100 strut assembly is now complete.
Installing the Bilstein 5100 Assembly
- Position the assembled strut into the truck and insert the three upper studs through the strut tower. Install the factory nuts finger-tight.
- Place a floor jack under the lower control arm and raise it until the lower shock eye aligns with the mounting tabs. If necessary, insert a screwdriver through the eyelet and rotate it slightly for alignment.
- Install the lower mounting bolt and nut.
- Continue raising the lower control arm.
- Swing the upper control arm down onto the steering knuckle, tighten the ball joint nut, and install a new cotter pin.
- Reinstall the tie rod end.
- Tighten the tie rod nut. If the stud spins, lightly tap it with a hammer to seat the taper before tightening.
- Install a new cotter pin in the tie rod end.
- Repeat the installation procedure on the opposite side.
- Swing the sway bar back into position and reconnect both end links.
- Reinstall the wheels and hand-tighten the lug nuts.
- Lower the truck to the ground and torque the lug nuts to the manufacturer's specifications.
Installation Complete
After approximately 100 miles (160 km) of driving, re-torque all suspension hardware to ensure everything remains properly secured.
We recommend having the truck professionally aligned after installing Bilstein 5100 struts, especially if you have changed the ride height.
Frequently Asked Questions
Which way does the Bilstein washer face?
The large Bilstein-supplied washer installs with the cupped side facing downward, toward the lower eyelet. This is the most common assembly mistake. If it is installed upside down, the shock shaft can pull through the upper mount after installation. The factory upper washer installs the opposite way, with the cupped side facing upward.
Do I need a spring compressor to install Bilstein 5100 struts?
Yes. The Bilstein 5100s ship as bare struts, so the factory spring and top mount must be transferred over. Rent a MacPherson-style spring compressor from a local auto parts store. Most stores loan them with a refundable deposit.
How much lift can I get from Bilstein 5100 struts on a Titan?
Lift height is set by which groove you place the snap ring in before assembly. On the 2004-2015 Titan (24-197649) you can choose stock height, 1 inch, or 2 inches. On the 2016-2024 Titan (24-268189) you can choose stock height, 0.7 inch, 1.2 inch, 1.7 inch, or 2.2 inches.
Do I need an alignment after installing Bilstein 5100 struts?
We recommend it, especially if you changed the ride height. Any change to ride height affects camber, caster, and toe, so a professional alignment protects your tires and keeps the truck tracking straight.
When should I re-torque the suspension hardware?
After approximately 100 miles (160 km) of driving, re-torque all suspension hardware to make sure everything remains properly secured.
More Install Guides
What Is the Difference Between a Coilover and a Strut?
Coilover or strut? Both use a spring and a shock, but they're built for different goals. Here's how they differ and which fits how you ac...
Read the guide ›

Bilstein 5100 Install Guide for Toyota Tundra
A full driveway install of Bilstein 5100 front struts on a Toyota Tundra, including the snap-ring lift settings for every model and the a...
Read the guide ›

Nissan Titan Suspension Lift Buyer's Guide
From leveling spacers to bracket lifts, every Nissan Titan lift option explained, plus the supporting parts you need for a safe, reliable...
Read the guide ›